LithgowLights 2016 Display – Aussie Jingle Bells by The Sunny Cowgirls
LithgowLights 2016 Display – Away In A Manger Photo Song
LithgowLights 2016 Display – Christmas Eve Sarajevo 12/24 by Trans-Siberian Orchestra
LithgowLights 2016 Display – Christmas Mashup by Screen Team
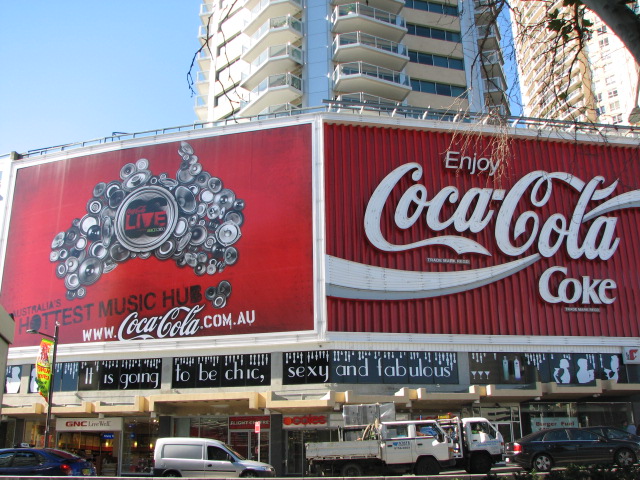
LithgowLights 2016 show – Coca-Cola advertisement
LithgowLights 2016 Display – Haka
LithgowLights 2016 Display – Hallelujah by Pentatonix
LithgowLights 2016 Display – Happy Little Vegemites
LithgowLights 2016 Display – He's A Pirate by Klaus Badelt
LithgowLights 2016 Display – Let It Go
LithgowLights 2016 Display – Make It So by Startrek TNG
LithgowLights 2016 show – Mary Did You Know by Pentatonix
LithgowLights 2016 display – Minions Intro
LithgowLights 2016 Display – O Come All Ye Faithful
LithgowLights 2016 Display – One Candle by Brendon Walmsley